A Mexican Themed Super Bowl Party wouldn't be complete without sangria. It's sweetness complimented the spicy hot appetizers. Here's my super simple recipe:
Boil 1 cup of water with 1 cup of sugar until the sugar is dissolved. Pour the sugar mixture into a pitcher and add 1 1/2 cups of orange juice, 3 1/2 cups of white wine and 1 cup of sparkling water. Add a sliced orange, sliced lime and sliced lemon. Stir to mix well. Enjoy!
"One cannot think well, love well, sleep well, if one has not dined well." -Virginia Woolf
Sunday, February 3, 2013
Saturday, February 2, 2013
Salsa Recipe
We are having a small get together tomorrow night for the Super Bowl. Anyone who knows me knows that I love get togethers and parties, especially planning the menu. I am doing a Mexican theme with Spicy Shrimp, Papaya Salsa and Chips, Bacon Wrapped Jalapenos, and Tortilla Roll Ups as appetizers. For dinner, we are having a Taco Bar (with homemade salsa and guacamole) and Santa Fe Coleslaw (very spicy). I bought Mexican soda for the kiddos and there will be Mexican beer and Sangria for the adults.
I put the salsas together today to let the flavors marinate. Here is my salsa recipe that is super simple and you can add and subtract ingredients all based on your taste.
First thing you need to do is chop up one half of a red pepper.
Add a bit of chopped onion.
Clean and chop up some celery. Be sure to use the very inner stalks - the tender small ones. Add the leaves too for extra flavor.
Use a garlic press and add two cloves of garlic. If you don't have a press, finely chop the garlic.
Add the juice of one lime.
Chop up some Roma tomatoes - discarding the seeds and center membranes. I use approximately 5 large Roma tomatoes.
Sprinkle on a pinch of chili powder and pepper.
Salt to taste.
Chop up some cilantro. I go by taste as to how much I add - usually around 1/4 cup. I use my mother in law's old nut grinder. It chops any herb the perfect size and it saves my fingers from slicing tiny leaves.
Give it all a good stir and there you have it! (Tomorrow before I serve it, I will give it a big stir and then strain off the excess juice)
"I am thankful for the mess to clean after a party because it means I have been surrounded by friends." -Nancie J. Carmody
Friday, February 1, 2013
Paper Ninja Stars
My daughter loves origami. She has made thousands of paper cranes in just about every color under the sun. On Christmas Day, she and her much older cousin (he's a college sophomore) made ninja stars. She came with me to work today and occupied herself by making many colorful ones. They sure brightened up my office. When she saw my delight with her creations, she said, "Mom! This would be a great idea for your blog!"
So here are the instructions on how to make folded paper ninja stars as dictated to me by my daughter.
Step #1: Using 8 1/2" x 11" paper fold one corner across.
Step #2: Cut off extra paper.
Step #3: Unfold the paper.
Step #4: Fold paper corner to corner but not the one that has already been folded then unfold.
Step #5: Fold paper in half and then unfold.
Step #6: Fold one corner to the center crease.
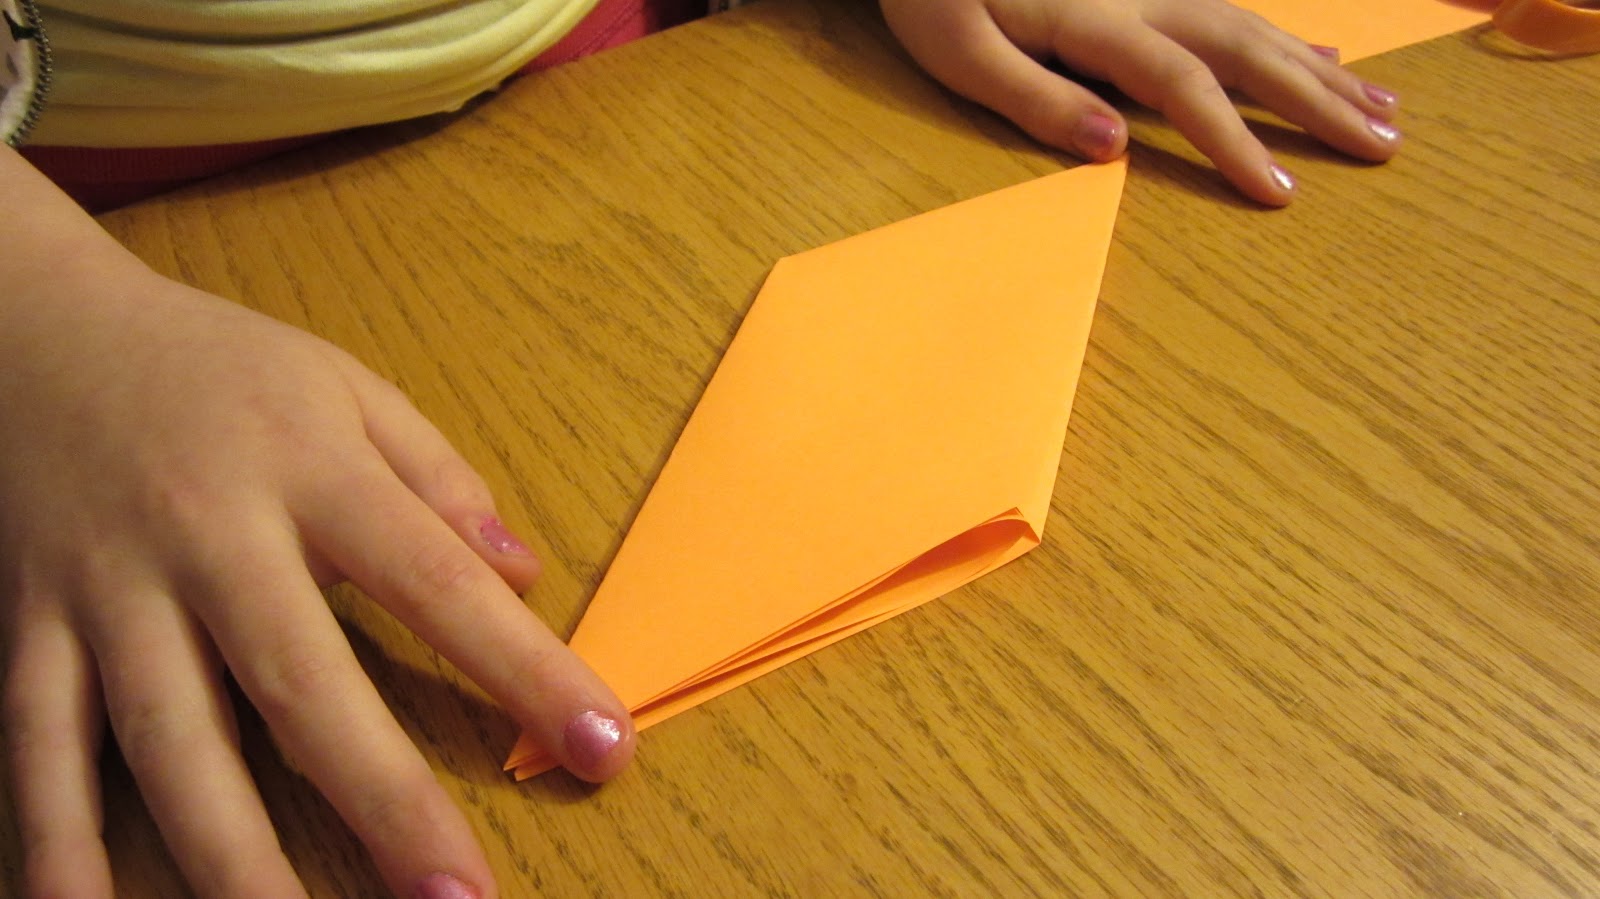
Step #7: Fold the other corner to the center crease, creating a point.
Step #8: Fold in half.
Step #9: Push the bottom inward and then fold flaps over and then crease. Make 7 more following directions 1-9.
Step #10: Put one "flappy" part with one "not flappy" part.
Step #11: Hold paper like the first picture below and then fold down the corners that are hanging off.
Step #12: Slide in the next piece and fold edges just as you did in the step above. Keep repeating steps 11 & 12 until you have all 8 pieces attached to each other.
Step #13: Attach the last piece to the end normally then attach the last piece to the piece you started with and fold the extra corners inside. Make sure you're not covering the paper in the middle.
This is what is should look like with all 8 pieces connected.
Step #14: Push opposite sides towards the center.
And POOF! There's your ninja star!
"Imagination is the highest kite one can fly." -Unknown
Subscribe to:
Posts (Atom)