Powered by Blogger.

Friday, August 23, 2013

Minnesota State Fair Date Night

It's State Fair time!  I have fond memories of the Minnesota State Fair dating back to when I was in 4-H and our group's skit won an award that put us on the stage in the 4-H building.  Chris and I used to go on an evening when we were dating.  When my boys were little, my parents would come and stay with us.  We would get up really early, pack up the boys and drive to the fair.  Our first stop, breakfast.  Second stop, the animals.

Now we go about every other year and most times it is without Chris.  This year though, Chris decided he wanted to go too.  So tonight, he and I went to the fair.  Our boys went with their friends and our daughter went with her friend.  It was date night for us!  We were one of a few THOUSAND who had the same idea.
We entered the fair by my favorite building....The Creative Activities Building.  This is where all of the handcrafts are showcased - including baked and canned goods.  Two of my favorites were the bottled vinegars and the jams/jellies.  (I noticed that no one entered pickled asparagus.  I may have to enter some of mine next year.  I also have a few handcrafts I may finish and enter next year.  I'll keep you posted!)

Chris likes to visit the ECO Environment Building.  We use solar power on our property up north so he was really interested in any new solar technology.  The windmills and wind direction website were pretty cool too.

A trip through Heritage Square and we saw a taxidermist with a sense of humor.  There really is something for everyone at the fair!
Of course we also had to eat.  It wouldn't be a trip to the fair without eating something.  We started out with Crab Cakes.
Then moved on to cheese curds.
Chris had a pronto pup and then some french fries.
For dessert, I had a chocolate dipped nut roll while he had a vanilla ice cream cone.  I definitely had the more creative choice!
We never did see any of our children while we were there.  I've spoken to all of them - none of them are home yet and it's 11:30pm - and they all had a blast!  My daughter's favorite part was the fireworks at the end of the night.  My boys loved the food.  Especially the Nitro Ice Cream & Roasted Corn (my middle son had 2 ears and had to borrow money from his brother).

If you get the chance, please visit the "Great Minnesota Get Together - The Minnesota State Fair".  Here is a link to the fair's website   www.mnstatefair.org  You can find out all of the daily deals, where to park and ride for $5 or for free, get maps of the fair, get a list of the free concerts (we listened to Rock, Country, and Jazz all within a few blocks) and a host of other fair-worthy information.  If you plan ahead for next year and Creative Activities is your "thing" we may have some space available in our home for some fair guests!!

"I won all of the blue ribbons for canning at the state fair."  -Loretta Lynn


Thursday, August 22, 2013

Blog/website Before Bedtime

I just finished working for the day.  I have a huge project for work that I got late this morning and it's due tomorrow (tabulating coaches' evaluations and parent/player comments).  I worked from 8am to 10:45am, then 12:00pm to 3:45pm, then 6:00pm to 10:00pm (a total of 10 1/2 hours).  I was almost done and went to check on some information I had already saved in a file and I couldn't open it - my files were corrupt!  AAARRRRRGGGG!!!!!  This means I have to start all over in the morning - very early.

To clear my head and get my blood pressure back to normal, I browsed a newfound website/blog.  I found it during my lunch break today and had been waiting all day to get back to it.  Here's the link to Flax & Twine  www.flaxandtwine.com  (All pictures below are curtesy of Flax and Twine.)

The photographs are visually pleasing:

The crafts are interesting and look fun to do:


The recipes look pretty "yummy":

It was just what I needed to calm my nerves give me a "happy place" to go to as I get ready for bed.  Tomorrow is another day and one where I hope I get to craft a little or cook a little!

"And I believe the best learning process of any kind of craft is just to look at the work of others."  -Wole Soyinka

Wednesday, August 21, 2013

Fun Recipes for Kids

I have lots and lots of recipes.  Many of them have been torn out of a magazine or newspaper.  Others are handwritten on scraps of paper or recipe cards.  Thankfully, I have them all sorted by type like Vegetables, Beef, Canning, etc.  While I was looking for a recipe for a potato dish, I came across a file entitled "Recipes for Kids".

As I browsed the recipes, happy memories of being in the kitchen with my kids came flooding back.  These pages are so old - they were type written with an old typewriter I had from college.

I'm sorry I don't have pictures to share showing the creation process but I did want to pass along these great recipes.  Share them with you kids and grandkids, nieces and nephews!

Glarch (Silly Putty)
2 parts white glue
1 part StaFlo liquid starch
food coloring

Mix well glue and starch.  It needs to dry a bit before it's workable.  Store in a tight container.  NOTE:  Add food coloring to starch before mixing with glue.

Play Dough ala Peanut Butter
1 jar peanut butter (18 oz. or larger)
6 Tablespoons honey
nonfat dry milk or milk plus flour to right consistency

Shape.  Decorate.  It's also edible!

Colored Sand
sifted sand
small lidded jars
food coloring

Shake sand and food coloring in jars.  Leave open or spread on wax paper to dry.  Punch holes in lid of jars and shake over paper on which glue has been painted (with finger or brush).  Pour off excess.

Soap Foam
soap chips
food coloring or tempra paint

Beat with electric or hand mixer until stiff.  Apply to cardboard or heavy paper with popsicle stick or finger.

Edible Play Dough
1 cup peanut butter
1 cup corn syrup
1 1/4 cup powdered sugar
1 1/4 cup powdered milk

Mix peanut butter, corn syrup, powdered sugar and powdered milk together until they are of molding consistency.  Let the kids create yummy sculptures, then dig in and gobble them up.

Salt Beads
2 parts salt
1 part flour

May be colored as play dough.  Form into balls, squares any shape.  Put on wax paper and put toothpicks through each piece to hold the hole for stringing when dry.

Textured Modeling Clay
2 parts sawdust
1 part wheat paste (wall paper paste)

Add water until mixture will model.  My be painted with tempera when dry.

Cornstarch Clay
1 cup cornstarch
1 1/4 cup water
2 cups baking soda

Cook and stir over medium heat until thick.  Cool and knead on wax paper.  Clay may be rolled and cut into shapes with cookie cutters or modeled and painted.

Goop Dough
1 cup cornstarch
2 cups salt
1/2 cup water
2/3 cup water

Mix salt and 2/3 cup water in small pan and heat over low heat for 3 to 4 minutes.  Remove from heat.  Mix cornstarch and 1/2 cup water.  Blend well.  Add cornstarch mixture quickly to the hot salt mixture, stirring constantly.  This mixture should form a stiff dough.  If not, return to heat.  Stir constantly.  Mixture may be colored.  Store in airtight container when not in use.

Volcano
Mold clay around glass place on a dish to resemble a volcano.  Put into the glass 3 Tablespoons baking soda.  Mix together:
2 1/3 cups vinegar
2 1/3 cups water
food coloring
Pour this over the soda in the glass and watch the volcano erupt!

Fingerpaint
2 Tablespoons cornstarch
1 cup cold water
2 Tablespoons tempra paint

Mix in a jar vigorously.  Put into saucepan and add another cup of cold water and cloves.  Cook until it comes to a boil and clear.  Add 1 teaspoon powdered alum.  Cool - remove cloves.  Keep in sealed jars.

Dough Ornaments
1 cup salt
2 cups flour
1 cup water

Blend in a bowl, adding water a little at a time.  Knead dough 7 to 10 minutes until firm.  Cut designs with cookie cutter.  Use nail to make a hole at the top of each ornament for thread.  Bake at 325 degrees for 30 minutes.  When cool, varnish to protect from moisture.  Draw a design with white glue and sprinkle on glitter or paint any color you like.

Play Dough
1 Tablespoon vegetable oil
1 cup flour
1/2 cup salt
1 Tablespoon alum
3/4 cup boiling water

Add food coloring to water.  Mix all ingredients together.

Structures
50-60 plastic drinking straws
standard size box of paper clips

Open several paper clips.  Widen the small end a little.  Fit each end of the paper clip into the end of a straw.  Bend the clip to change the angle.  Put more than one clip into a straw to attach several straws together.  Keep adding clips and straws to make buildings, bridges, boats, cars, spaceships and other structures.

Kaleidoscope
1 cardboard tube from inside a roll of paper towels
3 mirrors, each 1 1/4" by 9 1/2", available at any glass store (or Michael's); have edges finished
small sheet of cardboard
waxed paper
masking tape
scissors
buttons, paper clips, dry beans, glitter, sequins and other small, colorful objects

Lay the 3 mirrors side by side (close but not touching) on a table, mirror sides down.  Tape their edges together.  Fold them into a triangle with the mirrored sides facing in, and tape the third side.  Cut 1 1/2" off the cardboard tube.  Save the small section for later.  Stand the tube on the sheet of cardboard and trace around it with a pencil.  Cut out the circle you traces.  Us the point of the scissors to punch a hole in teh center of the tube.  Slide the mirror triangle into the tube.  It should fit exactly.  Cut two circles of waxed paper slightly larger than the diameter of the tube.  Stretch one tautly over the open end and tape it on securely.  Tape the small section of the tube.  They should just cover the waxed paper surface if you hold the tube upright.  Cover the open end of the tube with the second waxed paper circle and tape it securely in place.  Decorate the outside of the tube.  Hold the kaleidoscope to your eye and look directly at a bright light.  Turn it to change the patterns.

I'm keeping these recipes out.  Who knows?  My 16 year old may decide he'd like to give his girlfriend a necklace made out of salt beads that he made and painted!!!

"Creativity is an area in which younger people have a tremendous advantage, since they have an endearing habit of always questioning past wisdom and authority."  -Bill Hewlett


Tuesday, August 20, 2013

New Favorite Necklace

I am crazy about jewelry.  Even if I'm just wearing jeans and I t-shirt, I still like to wear a necklace and earrings.  This weekend, while at my parents', I was introduced to a new kind of jewelry - Living Lockets by Origami Owl.  My good friend Beth, who I have known since elementary school, is an Independent Designer for Origami Owl.

These Living Lockets are so great because you create how they look.  They become completely personal.  This is the link to their website  www.origamiowl.com  Here is how I put my locket together.

I started out by picking a locket.  They come in small, medium and large.  The size of the locket you get is really determined by how many charms you are going to use.  The lockets come in silver, gold, rose gold and black.  There are ones with sparkles and there are ones that are plain.  I chose a large sliver one with sparkles.
Next I chose a chain.  The one I picked is 32" long and silver.  It can be worn long or I can double it and wear it short.
I chose to add a plate to my locket.  As you can see from the locket picture, it's clear on both sides.  The plate can be the same size as the glass or you can get a smaller one that become a charm.  I chose a large one, stamped with the word "love".
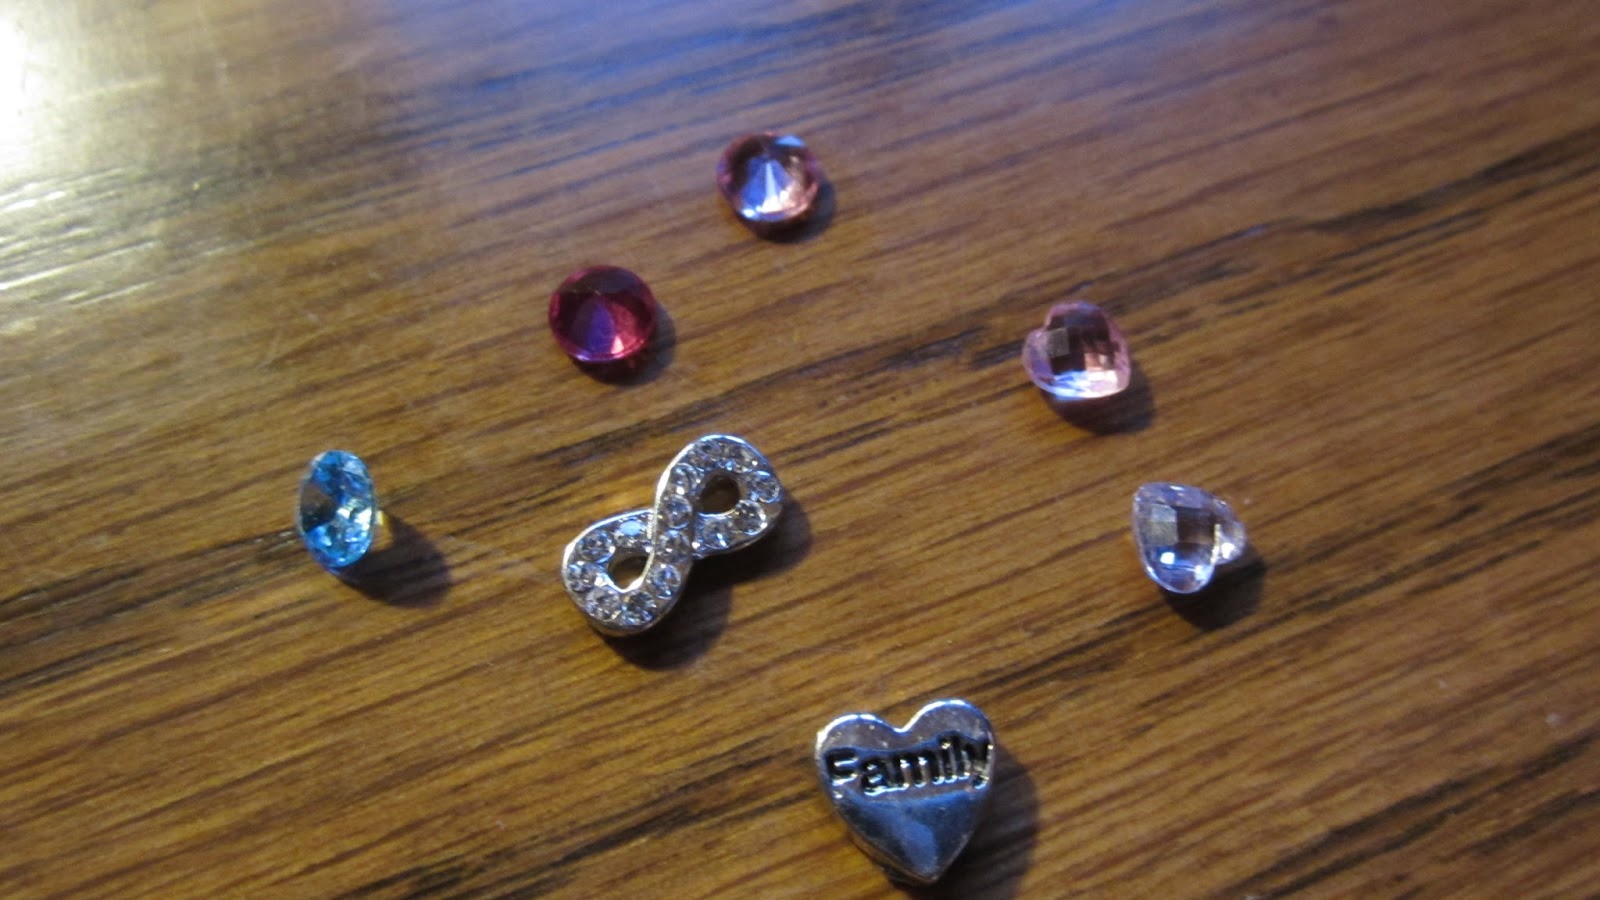
I wanted my necklace to represent my family so the charms I chose are my children's birthstones in a round shape, mine and my husband's birthstones shaped as hearts, a silver heart with the word "family" stamped on it, and an infinity shape with sparkles.  You can also add dangles to jazz it up.  I chose to have it without the dangles but may add a few later.
I opened the locket and put in my disk and charms.
Here is how it looks.
Next I attached it to the chain.

I love this necklace and have worn it every day since I got it.  My daughter has picked out what Living Locket she would like too.  These would make great gifts because they can be so personal.  I plan on purchasing more charms and will change them out when to fit my outfit, occasion or mood!

"I have a necklace I always wear.  I collect pendants from people I love; my best friends and members of my family have all given me one, and I put them on a chain so no matter where I am they're always with me."  -Lake Bell

Monday, August 19, 2013

Making Applesauce

My parents' have one apple tree.  This year's crop is HUGE!  Every morning my dad goes out with many 5 gallon buckets and picks up apple after apple that has fallen on the ground.  Some of those apples he brings out to the country and dumps them for the deer to eat.  Others they turn into fantastic, unsweetened applesauce.

Here is how easy it is to create.  First, make sure the apples are scrubbed clean.  Then the apples need to be cut and cored.  The skins can be left on.  Put them in a stock pot and put them on the stove top.  Turn the heat on medium to soften the apples.  Water can be added to keep the apples from burning but don't add too much or your apple sauce will become runny.
Once the apples are completely soft, put them through a grinder/mill.  This will get rid of the apple skin.
Pour the applesauce into a stock pot and heat slowly on the stove top.  Let it cool completely and it's ready to eat.
I froze some of my applesauce in plastic bags - 2  cups in each bag.  I will be able to thaw them out to eat or use in recipes.
The apples from my parents' tree are sweet so we didn't need to add any sugar.  One thing we do like to add to it though are red hots.
Sprinkle some on top of the applesauce.
Heat in the microwave stirring occasionally until the red hots are melted.
The Red Hots give the applesauce a little kick and a little cinnamon flavor.  So good!!!!!

"Tuesdays.....applesauce day."  -Chip Skylark

Sunday, August 18, 2013

Mom Made Beet Pickles

I love going to my parents' house.  I still call it home.  We were "home" this weekend for Cornfest.  I am a former Cornfest Queen and because this was the 75th Cornfest, they had asked all former queens to ride in the parade.  So we loaded up the van on Friday and headed out to my hometown of Ortonville, MN.  The ride there was educational...we saw windmill blades being transported by train.
I got to spend time with my "Besties" from High School (Beth, me & Gayle).
AND I got to make beet pickles with my mom.  She has a great recipe for beet pickles and I wanted to give them a try.  I had bought beets at the Minneapolis Farmers' Market but felt a little intimidated by the process.  I'm a "hands-on" learner so I had mentioned to my mom that I'd like to SEE how they're made and then give it a try on my own.  We gathered supplies and her much used recipe card (Mom - even though you gave this recipe to me through email....could you write it in your handwrting?!) and we set to work.
My mom had already boiled the beets to soften them before we got there.  The beets need to be soft - a bit firmer than potatoes you are cooking for mashed potatoes.  They have to be completely cool before you pickle them, so she had boiled them the night before.  They have a huge garden so these are homegrown beets!
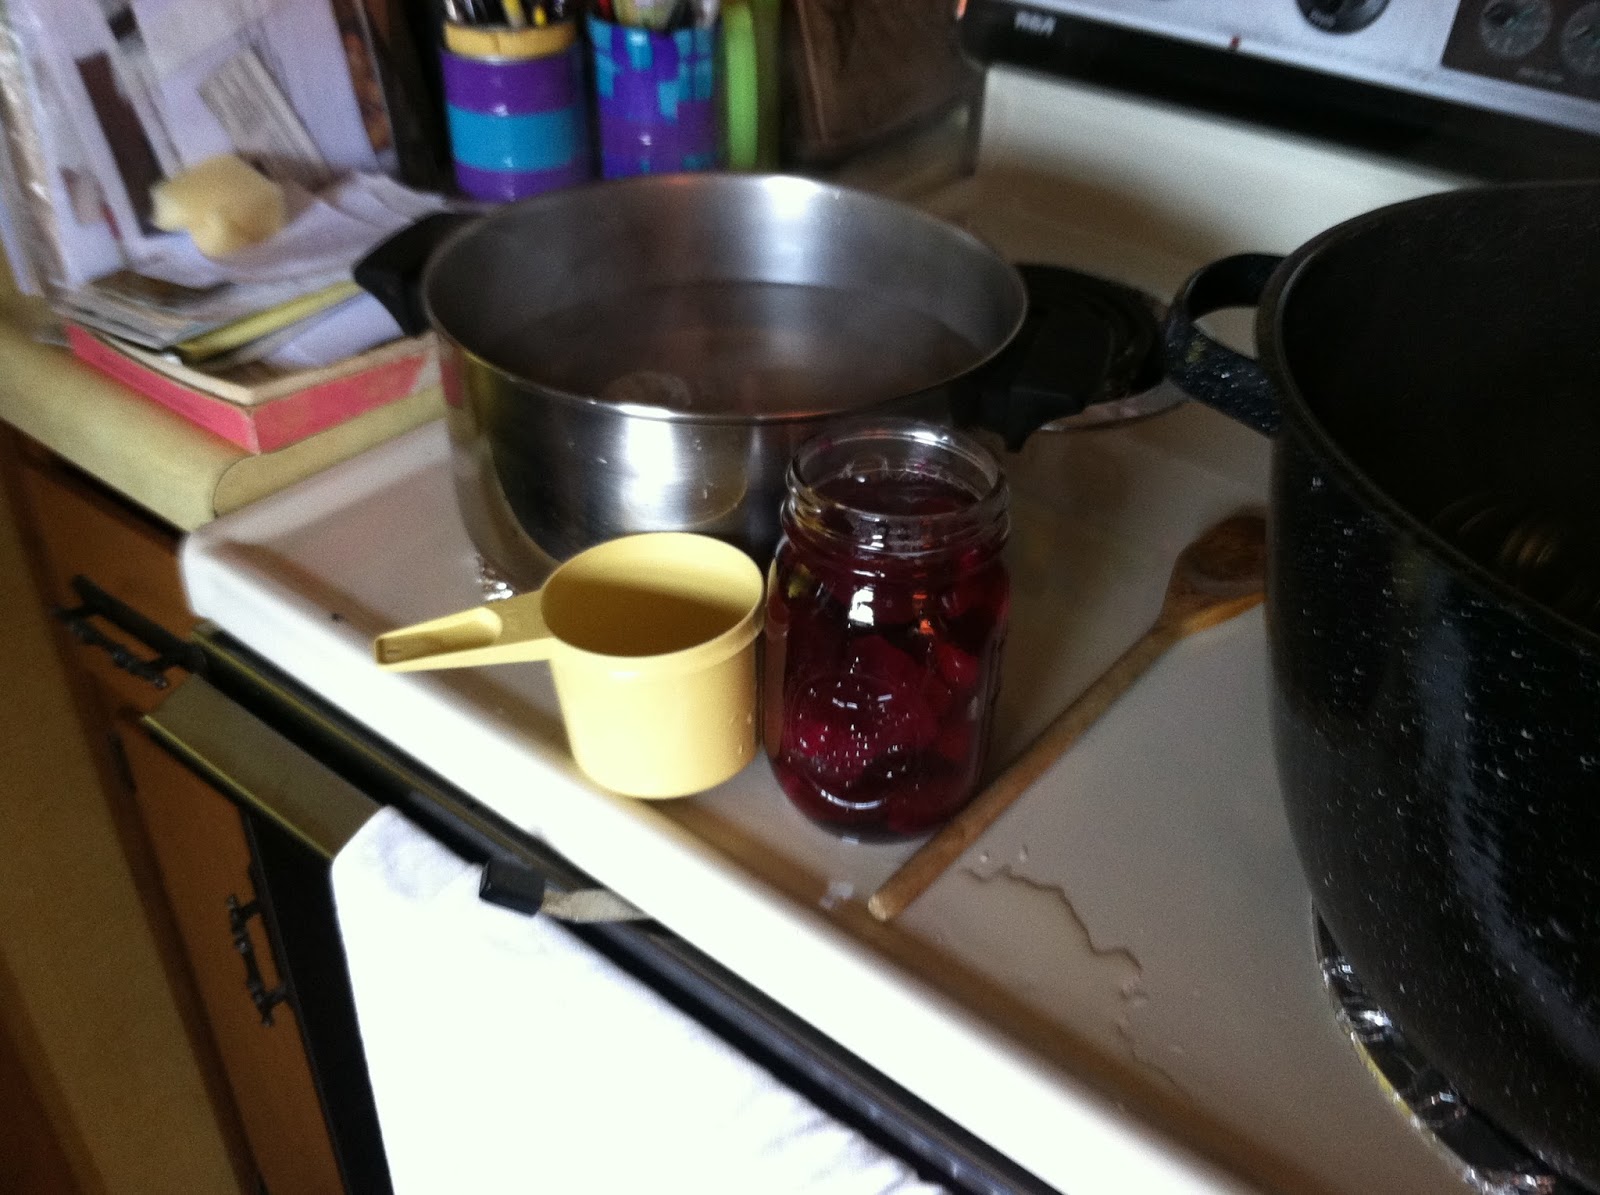
Next we made sure the jars, lids and rings were all clean.  First my mom washed them in soapy water and then we got them really hot on the stove top to sterilize them.

Then we peeled the beets.  The skin just fell off.  Sorry the picture is blurry.... my mom's hands were moving pretty fast preparing those beets!
Here is the beautiful bounty!
Next, we prepared the brine.  We doubled the recipe for the amount of beets we had so I put 4 cups of sugar in a large stock pot.
To that, I added 4 cups of CIDER vinegar

 and 4 cups of water.
In a piece of muslin, my mom sprinkled 2 Tablespoons of pickling spice, and then tied it closed tight with embroidery floss.

This little packet was then added to the sugar, vinegar and water mixture, along with 2 cinnamon sticks.
This mixture needs to boil until the sugar is dissolved so while it was on the stove top, my mom and I cut up the beets into perfect bite size pieces.  Again, I apologize for the blurry picture as my mom works her magic very quickly!

When the brine is ready (sugar is dissolved), it's ready to add to the cut up beets.  
My mom added the brine to the jars with a 1cup measuring cup (another blurry picture).

My job was to make sure the lips of the jars were clean and dry (I wiped them off with a clean cloth) and then I added the lids and the rings and put them in the canner.
We boiled them for about 10 minutes and then turned off the heat.  My mom took them out of the water bath and we listened for the tell-tale pop to let us know that they had sealed.  Out of the 10 jars we did, 9 of them sealed.  If any of yours don't seal, put them directly into the refrigerator and use right away.
My husband ate almost an entire jar of beet pickles this weekend.  He likes them just as pickles.  I like them as pickles but also thinly sliced on a spinach salad with blue cheese dressing and toasted walnuts.  Makes me hungry just thinking about it!  I think I'm ready now to do them on my own!

"How was the parade?" you ask.  Here is a view of my family from my spot on the Former Queen Float - my husband is in the yellow shirt; my middle son is in the red shirt; my daughter is in the blue shirt holding the sign "Hi Mom"; my niece is in the purple shirt holding the sign "Hi 1985 Queen"; my oldest son (partially hidden behind my niece) is wearing the blue shirt; my sister is behind my husband in the gray/white shirt; my mom is in the striped shirt next to my sister holding the camera; and my dad is in the yellow shirt behind the fence/pole.
I have the most amazing life and the most amazing family.  Love you all lots and lots!

 "My family comes first.  Maybe that's what makes me different from other guys."  -Bobby Darin