
I need a vacation. In the woods would be nice. I wish our cabin in the woods was completed but that may be a few years. I may have to resort to staying in a bed and breakfast. That would be nice. Especially one which is owned by someone I know.
I am looking forward to making plans to stay at Larson Creek Farm in Port Wing, WI. Here is a link to their website: www.larsoncreekfarm.com This B & B is owned by one of my former co-workers, the retired librarian from Hayes Elementary School in Fridley, MN. It looks like such a cozy place. There are two guest rooms, each with a private bath. Breakfast is served from 8:00-9:30am. They also have a craft room that they rent out. The rates are very reasonable. Check out their website for more details!
"A simple enough pleasure, surely, to have breakfast alone with one's husband, but how seldom married people in the midst of life achieve it." -Anne Spencer
Thursday, January 31, 2013
Wednesday, January 30, 2013
Duct Tape Flowers
Every time I walk into my bedroom, I am greeted with a beautiful bouquet of flowers. These are very low maintenance flowers - no water or light is necessary to keep them blooming. That's because they are made out of duct tape!
 This bouquet was given to me last Mother's Day by my daughter and one of my sons. They got together and made all of the flowers. I love how colorful they are!
My daughter has made probably hundreds of these flowers and she is asked almost daily how to make them. She wanted me to share her instructions on my blog, so here goes..........
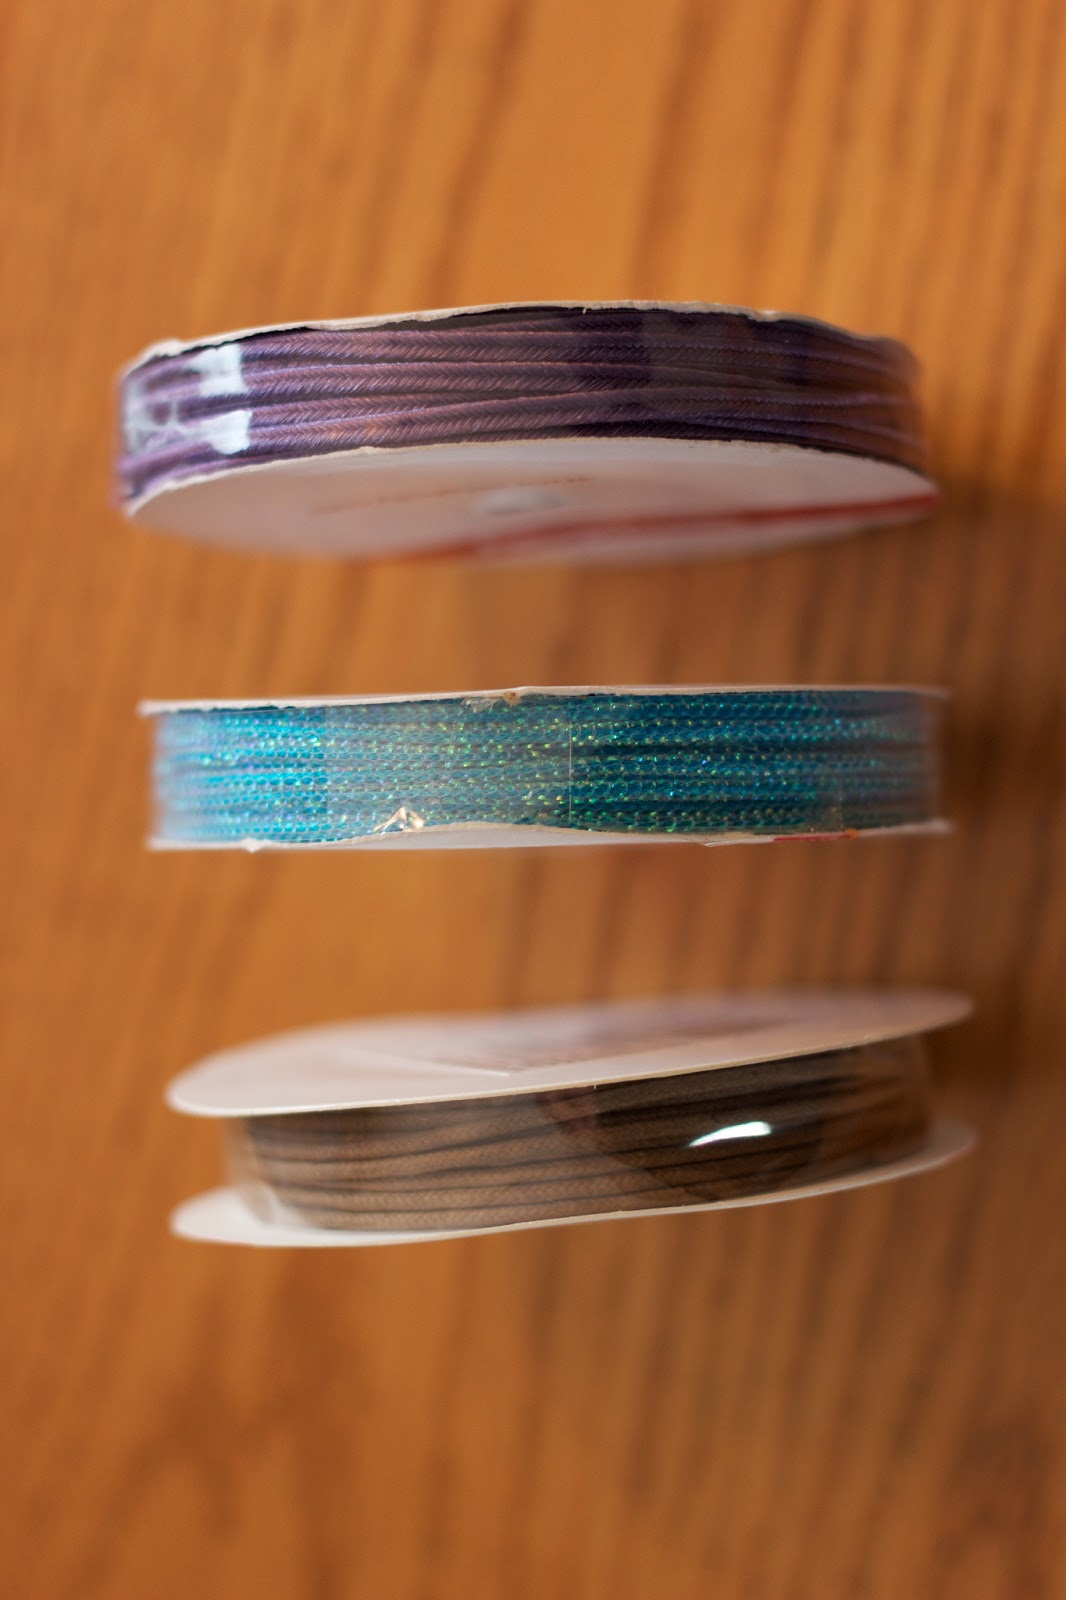
Here are the supplies:
colored duct tape and a pen, pencil or straw

 Cut a piece of duct tape almost as long as your pen/pencil/straw - about an inch or two shorter.
 Roll the duct tape around the pen/pencil/straw. This is the stem.
 Cut a square large enough to cover the end of the pen/pencil/straw. Attach to the bottom.

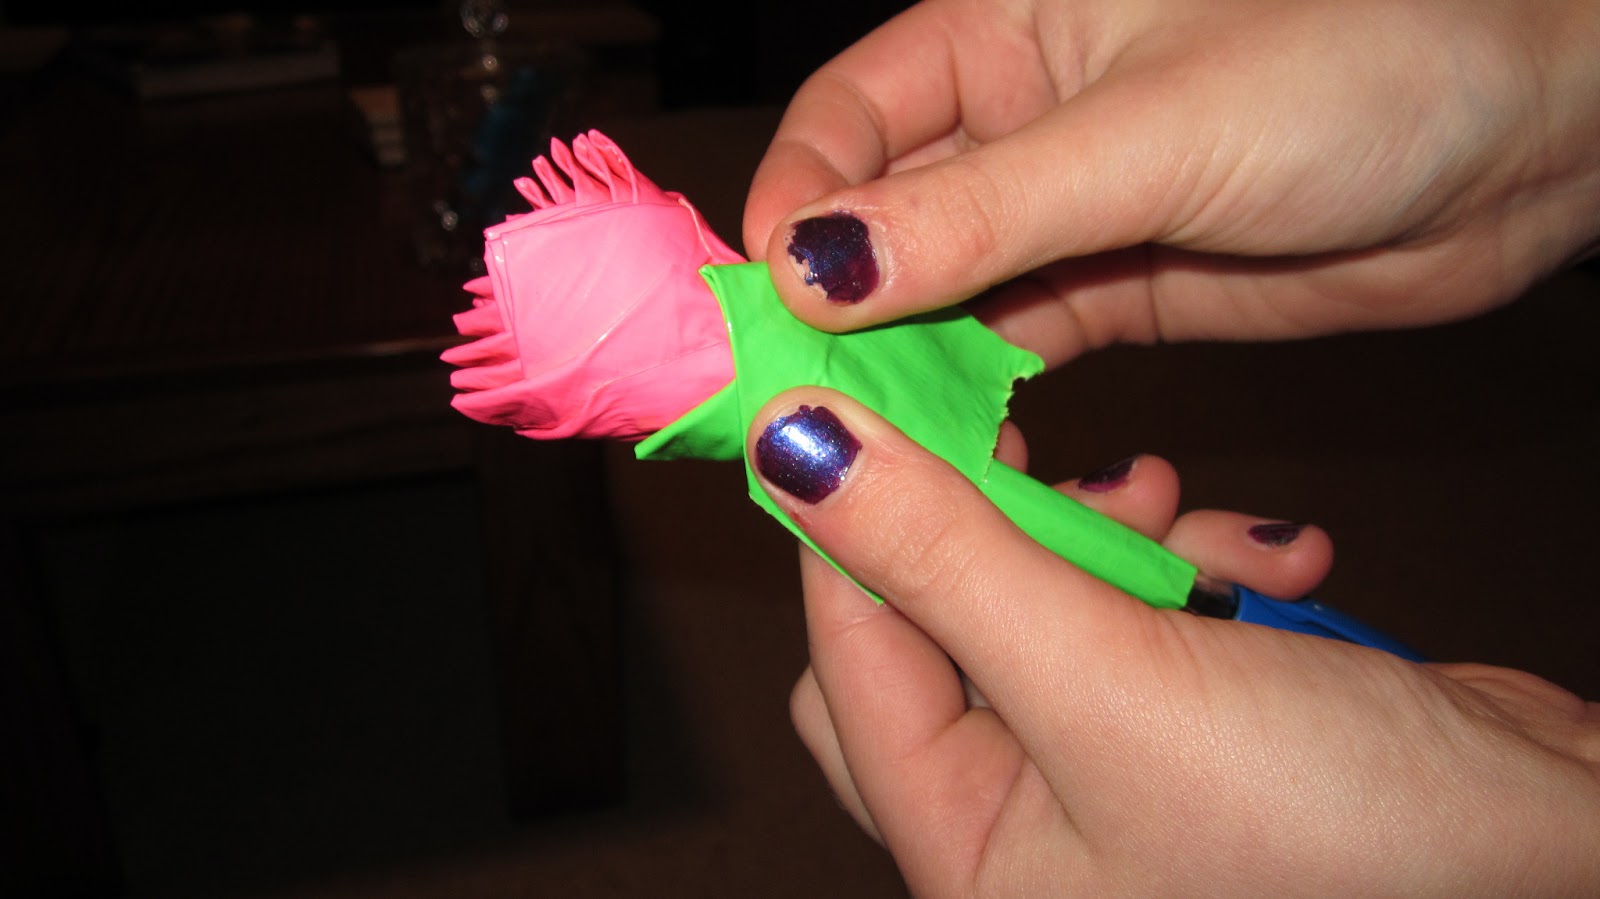
 On the petals. Cut a piece of duct tape a little larger than a square.
 Fold the top two corners down to make a point.

 Wrap the other ends around the pen/pencil/straw.

 Keep adding petals in this manner, slightly overlapping them to create the center of the flower.

 Add another layer of petals filling in the spaces between the points of the petals.

 After you have added as many flowers as you would like, you can add the flowers bottom leaves. As with the petals, cut a piece of duct tape a little bigger than a square in the same color as the stem. Fold the top corners to create a point.

 Add them to the flower at the flower's base.
 These flowers can be made any size you would like and in any color or color combination you would like. You can even make them on the end of the pencil or pen so that you can still write with it. I have one that is my "journal pen".
"Just living is not enough. One must have sunshine, freedom, and a little flower." - Hans Christian Andersen

My daughter has made probably hundreds of these flowers and she is asked almost daily how to make them. She wanted me to share her instructions on my blog, so here goes..........
Here are the supplies:
colored duct tape and a pen, pencil or straw


"Just living is not enough. One must have sunshine, freedom, and a little flower." - Hans Christian Andersen
Tuesday, January 29, 2013
Pretty Buttons
Today I found a store on-line that I will definitely visit if I ever get to New York! It's called Tender Buttons and is located at 143 E. 62nd St., New York. Here is a link to their website: www.tenderbuttons-nyc.com
Tender Buttons is a store that sells unique and antique buttons. If you click on BUTTONS on their website, you can page through samples of the buttons they have. Along with the pictures, details are given about the "story" behind the buttons as well as the physical descriptions.
Click on TOUR OUR STORE on the bottom right corner of their webpage and you will see that every corner of this store houses beautiful buttons!
The buttons are works of art and I would love to use them in my jewelry making projects! Just wish they had an on-line store. Anyone traveling to New York in the near future, let me know and I'll send along my shopping list!
"I don't know why people think I'm polished - I often leave the house with buttons missing and ladders in my tights." -Sophie Ellis Bextor
Monday, January 28, 2013
Chain & Embroidery Floss Bracelet
Today was the last day of Friendship Bracelets. This one is made from chains and embroidery floss. Here are the other supplies.


 Measure the chain to fit around your wrist and cut it - twice.

 Measure approximately 36 inches of embroidery floss and cut it. We used two widths of embroidery floss. You may need to use more or less depending on the size of the chain.
 While holding the two chains together, tie them together with the embroidery floss.
 Tape the bracelet to a hard surface for easier "sewing".
 Pass the embroidery thread back and forth through both chains.


 Once you get to the bottom of the chain, reverse the process and "sew" back up to the starting end.

 At the end, tie the ends of the embroidery floss in a knot and cut off the excess floss.

 Attach a jump ring and at this point you can add a charm and a lobster clasp. (We chose to add a rhinestone bauble.)


 Add a jump ring to the other end.
 Here's the finished product!


"Jewelry takes people's minds off your wrinkles." Sonja Henie


"Jewelry takes people's minds off your wrinkles." Sonja Henie
Sunday, January 27, 2013
Leather & Rhinestone Friendship Bracelet


"Friendship is born at that moment when one person says to another, "What! You too? I thought I was the only one."" - CS Lewis
Subscribe to:
Posts (Atom)