I had fun browsing around Bead Basics (
www.bead-basics.com) today. I was looking for beads to use with the buttons I bought yesterday. I was going to make buttons out of two big buttons. Here are the buttons and the beads I chose.
Along with a pin backing and some wire.......
I set to work turning my purchases into jewelry. I started on the red button. I thread a red crystal bead onto some gold wire then bent the wire down on both sides of the bead and gave the wire a twist.
Then I slid a bigger crystal bead on both ends of the wire and pushed it to the red bead.
Next I added a flower shaped bead.
I put the ends of the wire through the button holes and pulled the beads tight to the button.
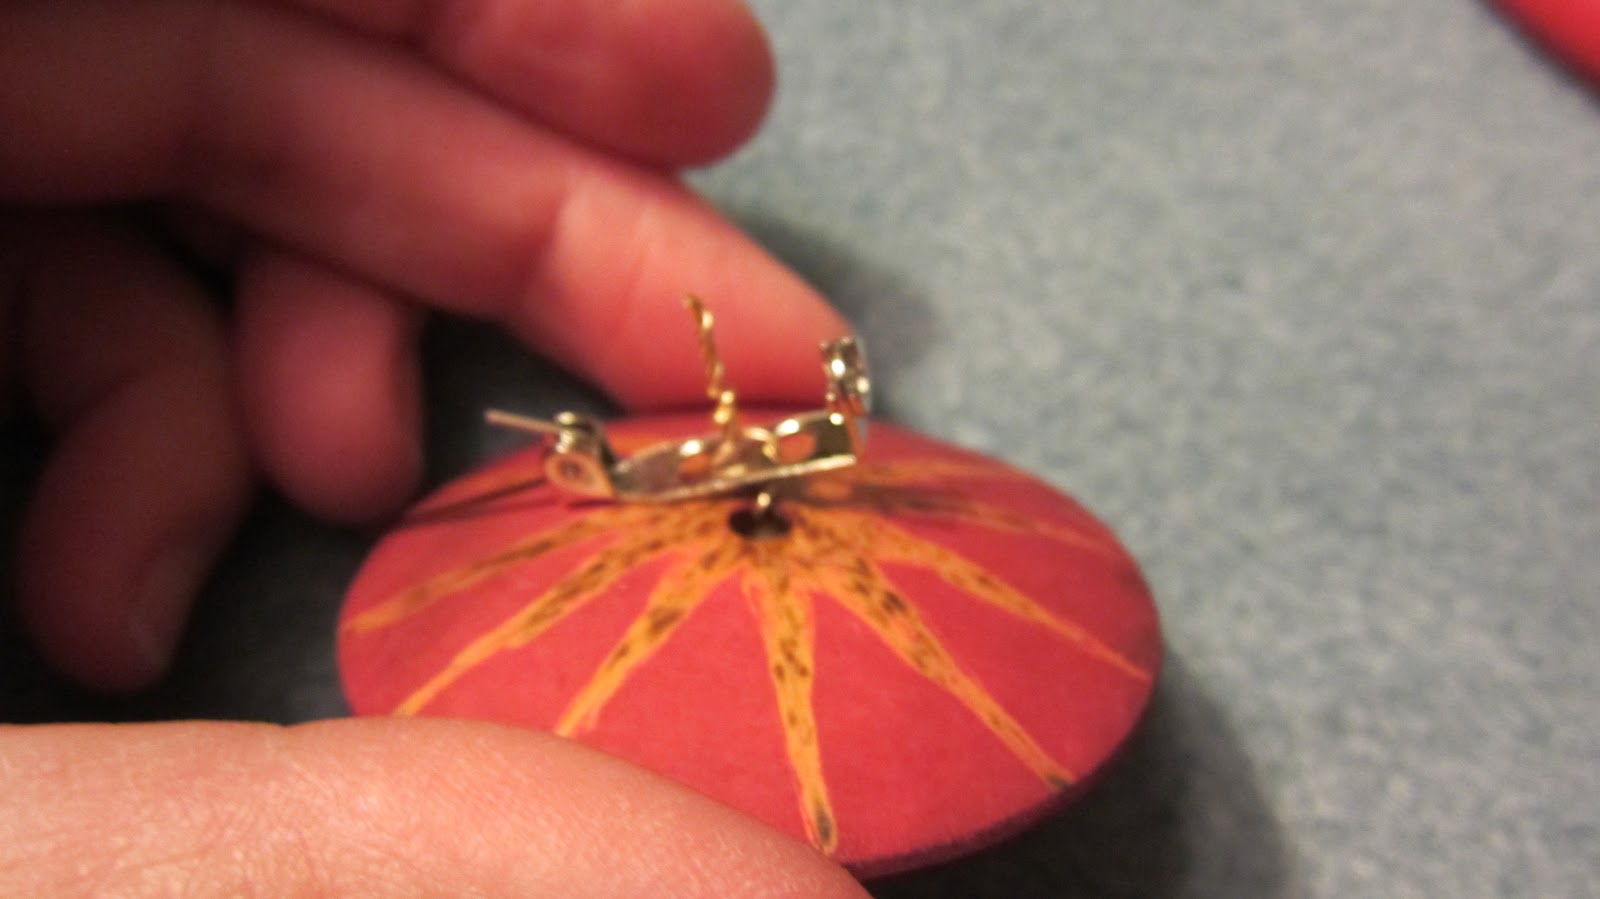
Thread the pin backing through the wire and hold it against the back of the button while twisting the wire.
Cut the ends of the wire and bend the twisted wire flat against the pin backing.
For the turquoise button, I used little turquoise crystal beads. I put them on brushed gold wire and added them to the special jewelry piece I found.
Then I put a brushed gold bead onto the gold wire and bent the ends around the bead. I thread the bead through the jewelry piece and then through the button.
I pulled the beads tight against the button.
I added the pin backing as I did for the red button.
Here are the completed pins! I think they turned out great!!!!!
"The chief enemy of creativity is good sense." -Pablo Picasso


No comments:
Post a Comment