

Step #1: Using 8 1/2" x 11" paper fold one corner across.

Step #2: Cut off extra paper.

Step #3: Unfold the paper.

Step #4: Fold paper corner to corner but not the one that has already been folded then unfold.


Step #5: Fold paper in half and then unfold.


Step #6: Fold one corner to the center crease.

Step #7: Fold the other corner to the center crease, creating a point.

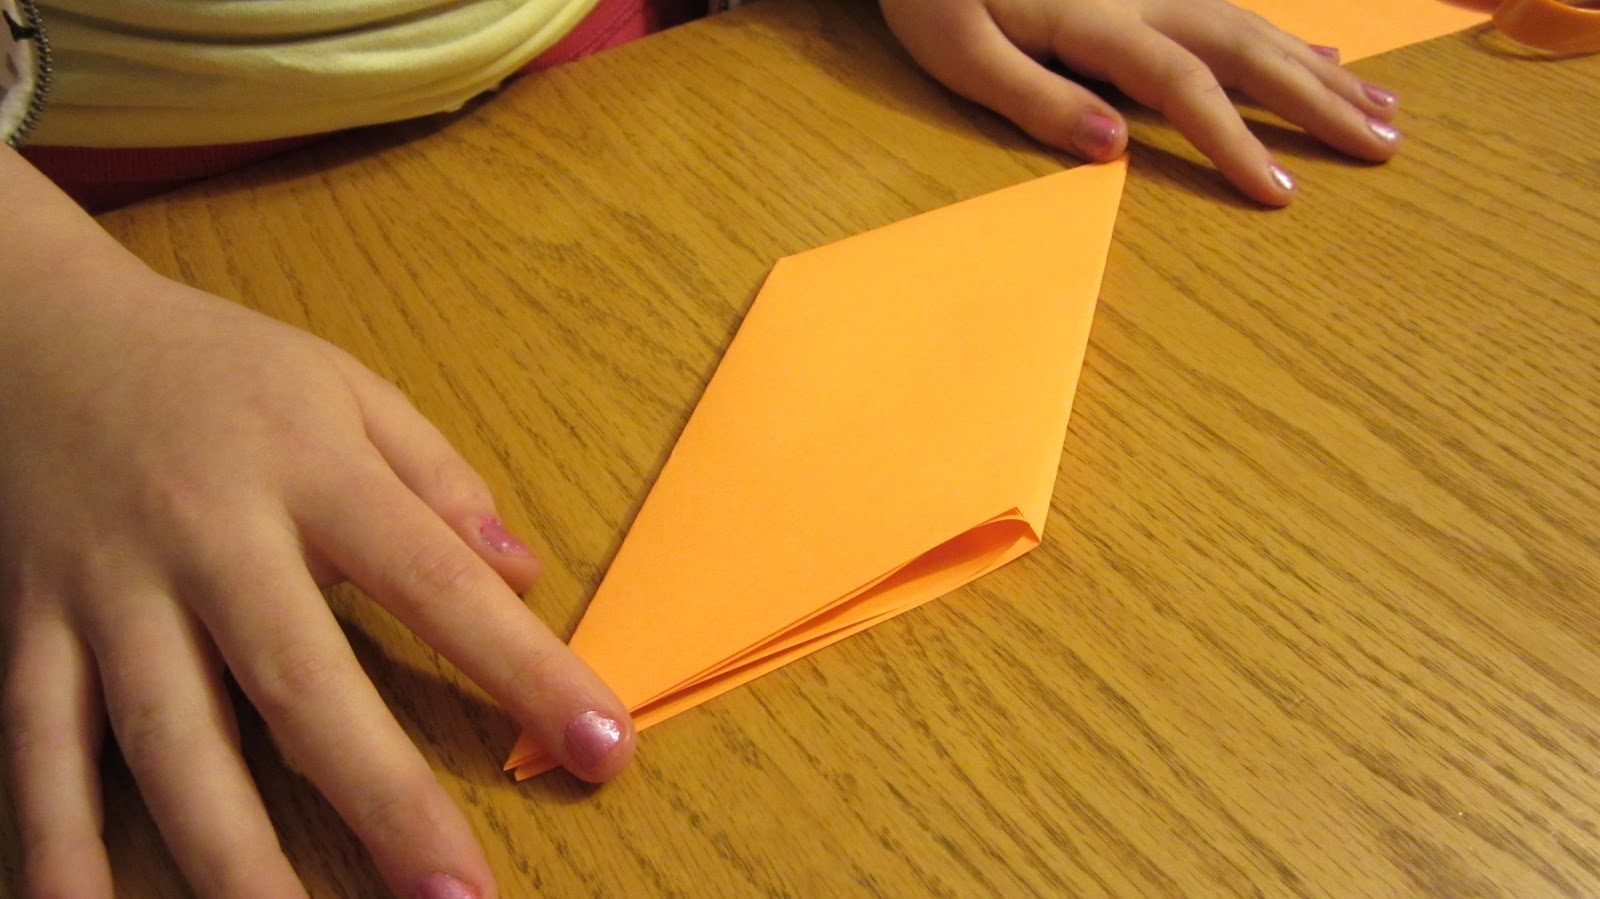
Step #8: Fold in half.


Step #9: Push the bottom inward and then fold flaps over and then crease. Make 7 more following directions 1-9.


Step #10: Put one "flappy" part with one "not flappy" part.

Step #11: Hold paper like the first picture below and then fold down the corners that are hanging off.


Step #12: Slide in the next piece and fold edges just as you did in the step above. Keep repeating steps 11 & 12 until you have all 8 pieces attached to each other.


Step #13: Attach the last piece to the end normally then attach the last piece to the piece you started with and fold the extra corners inside. Make sure you're not covering the paper in the middle.


This is what is should look like with all 8 pieces connected.

Step #14: Push opposite sides towards the center.


And POOF! There's your ninja star!

"Imagination is the highest kite one can fly." -Unknown
No comments:
Post a Comment